
30DaysMSGraph – Day 24 – Use case: Calling Microsoft Graph from a single-page application Part 2
List of all posts in the #30DaysMSGraph series
-Today’s post written by Bob German
In Day 23 you learned how to register apps for both Azure AD v1 and v2 that can be used from the browser to enable Graph API calls. Today, we’ll use those registrations in some simple applications.

There are four samples that accompany this article, so you’ll still get to choose your flavor:
| File | Description |
|---|---|
| index.1a.html | v1 endpoint using ADAL with jQuery |
| index.1b.html | v1 endpoint using ADAL with TypeScript, Webpack, and React |
| index.2a.html | v2 endpoint using MSAL with jQuery |
| index.2b.html | v2 endpoint using MSAL with TypeScript, Webpack, and React |
The JavaScript examples are really simple, with good old jQuery and all the code on one page. They’re actually drawn from elsewhere; the Azure AD V1 sample is from Julie Turner’s awesome article series, Extending SharePoint with ADAL and the Microsoft Graph API; the V2 example is from this Microsoft tutorial..
The TypeScript examples are new, and are intended for developers building full scale single page applications. They’re also instructive because TypeScript made it easy to separate the authentication code from the Graph calls and user interface, so it’s a lot easier to see what’s going on.
Configure the Sample
First, clone or download the sample code from https://github.com/BobGerman/AADsamples; this sample is in the implicitFlow folder. You’ll need to have Node installed to build the TypeScript demos, and to run all of them.
From a command line in the implicitFlow directory, type:
npm install
npm install http-server -g
Now edit the code to include your App IDs and other details.
- In index.1a.html, plug in your V1 client ID (the Application ID) and tenant id (like “mytenant.onmicrosoft.com)
- In index.2a.html, plug in your V2 client ID (the Application ID).
- In the src folder, rename or copy constants.sample.ts to constants.ts, and plug in your V1 and V2 application IDs and your tenant id
Demos 2a and 2b require a build step to compile the TypeScript and make a webpack bundle. Type:
npm run build
Run the Sample
To start a local web server, type
http-server
Point your web browser to
http://localhost:8080
and you can navigate to the various demos.
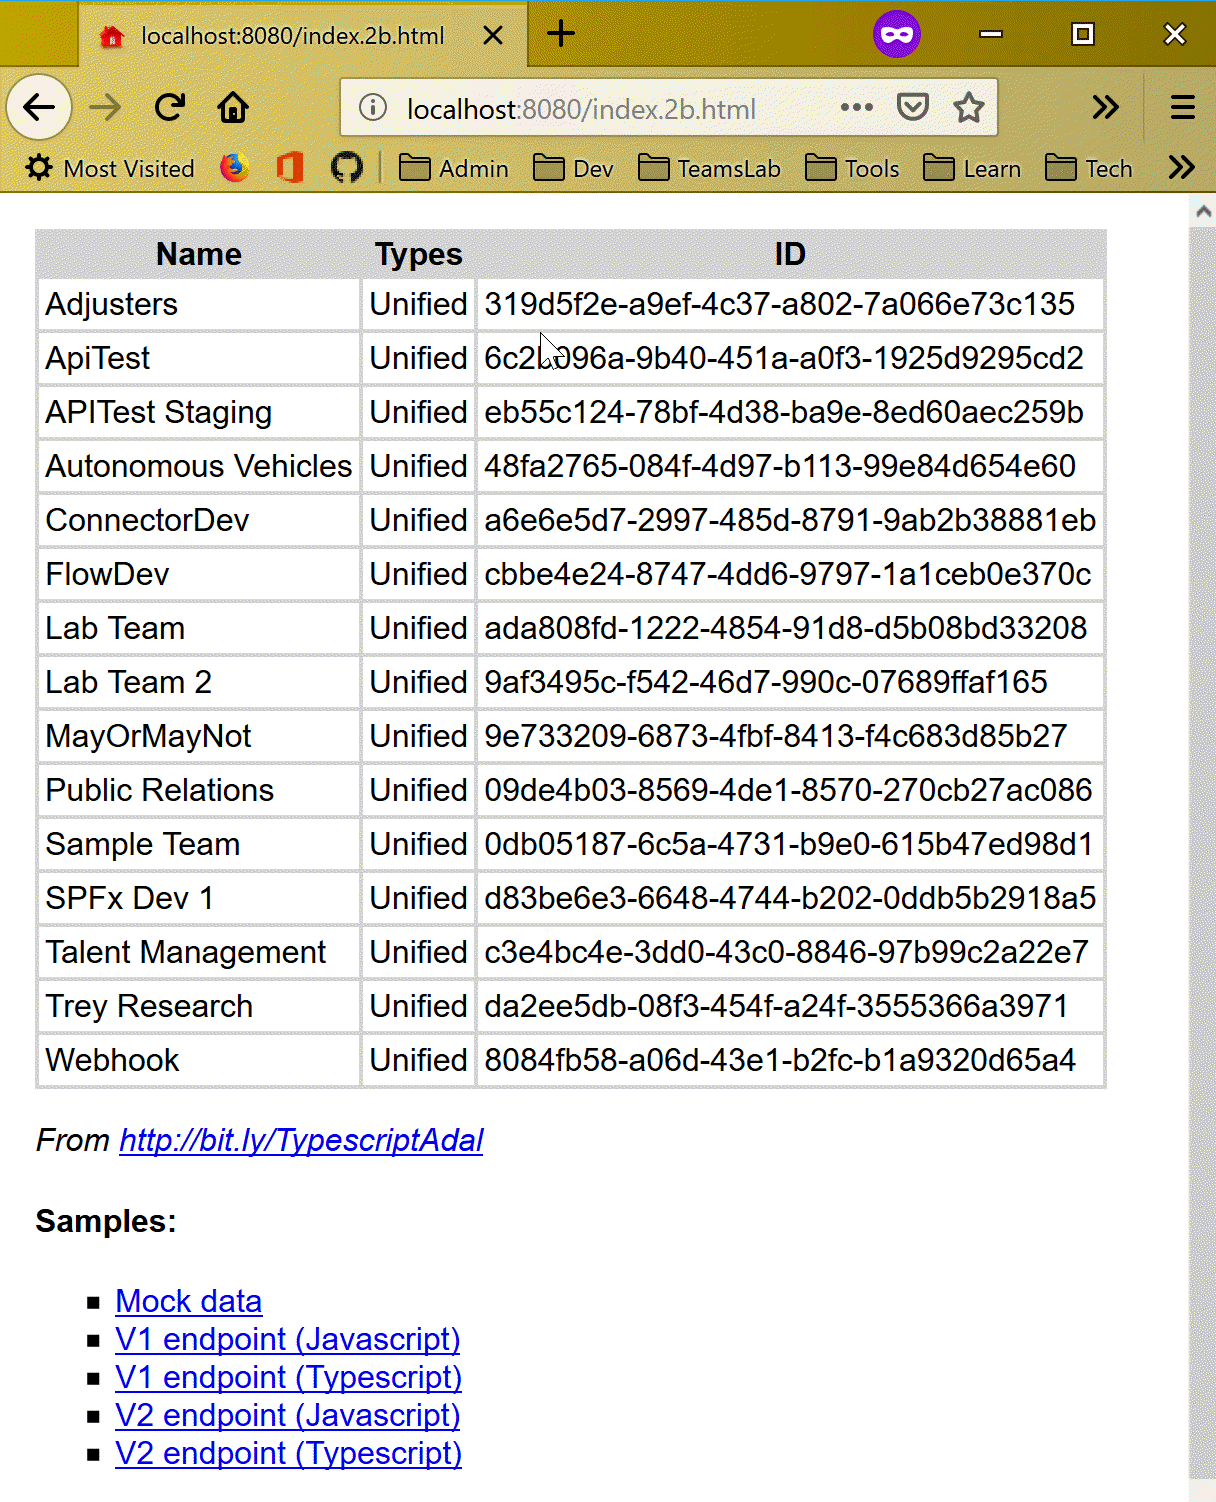
The V1 JavaScript demo logs the user on and displays a bit of profile information; the V2 JavaScript demo is similar but has an explicit Login/Logout button. The TypeScript demos display a list of all groups in your tenant.
Learning from the Code
Now you have 4 samples to check out, which all do the same thing. They first “log the user in” (validate the user and get an ID token), and then they get an access token that lets them call the Graph API.
JavaScript Samples
If you’re most comfortable in JavaScript and jQuery, the JavaScript samples are for you.
index.1a.html shows ADAL and the v1 endpoint. Walking through the code can be a bit tricky because the same page is used to initiate the login and handle redirects after the user is logged in and the token is obtained. Here’s the function which runs when the page is loaded:
$(document).ready(function () {
    // Check For & Handle Redirect From AAD After Login or Acquiring Token
    var isCallback = sampleApp.authContext.isCallback(window.location.hash);

    if (isCallback && !sampleApp.authContext.getLoginError()) {
        sampleApp.authContext.handleWindowCallback(window.location.hash);
    } else {
        var user = sampleApp.authContext.getCachedUser();
        if (!user) {
            //Log in user
            sampleApp.authContext.login();
        } else {
            sampleApp.getGraphData();
        }
    }
Notice that it checks for a callback – that is, it asks ADAL if the page is running due to a redirect from Azure AD. authContext.handleWindowCallback() takes the token from Azure AD and puts it into local cache. If it needs to log the user in, it calls authContext.login() which does not return – it redirects the browser window to Azure AD! The same thing can happen in the authContext.acquireToken() (not shown in the listing but it’s in the code).
index.2a.html is similar, except it has login and logout buttons so the user can initiate the process. If the user isn’t logged in, the page shows a login button (very little JavaScript runs). When the user clicks the button, they are logged in, but this time the Popup version of the login method is used, so the call returns a promise which is resolved when the user logs in via a popup window.
function signIn() {
    myMSALObj.loginPopup(applicationConfig.graphScopes).then(function (idToken) {
        //Login Success
        showWelcomeMessage();
        acquireTokenPopupAndCallMSGraph();
    }, function (error) {
        console.log(error);
    });
}
TypeScript samples (check them out even if you don’t use TypeScript!)
With all the UI code, Graph calls, and authentication stuff mixed together, it can be a little hard to follow. So even if you’re not a TypeScript developer, you might find it easier to understand the logic in the TypeScript examples.
The TypeScript SPA includes two services, MSGraphService (which calls the Graph) and two implementations of an AuthService (which gets the access token) – one each for V1 and V2. ServiceFactory.ts provides rudimentary dependency injection, and creates the MSGraphService the V1 or V2 version of AuthService based on the scenario selected.
MSGraphService doesn’t have to fuss about authentication, it just asks for a token and moves on:
this.authService.getToken()
    .then((token) => {

        fetch(
            `https://graph.microsoft.com/v1.0/groups/?$orderby=displayName`,
            {
                method: "GET",
                mode: "cors",
                cache: "no-cache",
                headers: {
                    "Content-Type": "application/json",
                    "Authorization": "Bearer " + token
                }
            }
        )
        .then((response) => {
            // handle the response
        }
        // et cetera
The v1 Auth service creates a new AuthenticationContext, which is the main object in ADAL, and then calls an internal function called ensureLogin() to make sure the user is logged in.
private ensureLogin(authContext: AuthenticationContext): boolean {

    var isCallback = authContext.isCallback(window.location.hash);

    if (isCallback && !authContext.getLoginError()) {
        authContext.handleWindowCallback(window.location.hash);
    } else {
        var user = authContext.getCachedUser();
        if (!user) {
            authContext.login();
        } else {
            return true;
        }
    }
    return false;
}
It handles the login callback if necessary, which grabs the ID token off the URL hash, caches it, and sets the user state to logged in. If we don’t have a callback, it looks for the user in cache. No cache means no user was logged in, so it calls authContext.login() – and again, that call never returns, it redirects to Azure AD.
Assuming ensureLogin() returns (maybe after a redirect or two), the code does the exact same thing to acquire the access token. If no access token is found in cache, it calls authContext.acquireToken() – another call that never returns, it redirects and the code will find the token in cache when Azure AD redirects back to the page.
if (this.ensureLogin(authContext)) {

    let cachedToken = authContext.getCachedToken(constants.resourceId);
    if (cachedToken) {
        resolve(cachedToken);
    } else {
        authContext.acquireToken(
            constants.resourceId,
            (error, acquiredToken) => {
                if (error || !acquiredToken) {
                    reject(error);
                } else {
                    resolve(acquiredToken);
                }
            }
        );
    }
} else {
    reject(`Login error: ${authContext.getLoginError()}`);
}
The V2 version of the Auth service is even more concise. Instead of ADAL’s AuthenticationContext, we’ve got MSAL’s UserAgentApplication … kind of the same thing. This is all you need:
// Ensure user is logged in
if (!userAgentApp.getUser() || userAgentApp.isCallback(window.location.hash)) {
    userAgentApp.loginRedirect(constants.scopes);
}

// Try to get a token silently
userAgentApp.acquireTokenSilent(constants.scopes)
    .then((accessToken) => {
        resolve(accessToken);
    })
    .catch((error) => {
        console.log(error);
        // If the error is due to a need for user interaction, then redirect to allow it
        if (error.indexOf("consent_required") !== -1 ||error.indexOf("interaction_required") !== -1 || error.indexOf("login_required") !== -1) {
            userAgentApp.acquireTokenRedirect(constants.scopes);
        } else {
            reject('Error acquiring token: ' + error);
        }
    });
The calls are different, but the logic is pretty much the same. In MSAL, the calls that redirect are clearly marked: loginRedirect() and acquireTokenRedirect(). There are popup versions of both those methods, which you can see in the JavaScript version.
Conclusion
The simple instructions, “acquire an access token,” might as well be “fly to the moon” for a new Graph developer. Here’s hoping your experience was easier than rocket science, and you’re now equipped to use it in your single page applications and other browser based solutions!
Join us tomorrow as we will show you how to use Microsoft Graph to create OneNote notebook in Day 25.
 Light
Light Dark
Dark